Panel Design Service
Our Panel Design Service includes one-on-one consultations, tailored panel recommendations, and guidance on fluorophore selection based on antigen density, co-expression profiles, reagents available, and instrument compatibility.
By providing this support to researchers, we aim to significantly reduce troubleshooting, optimize experimental outcomes, and improve the overall quality of the data generated.
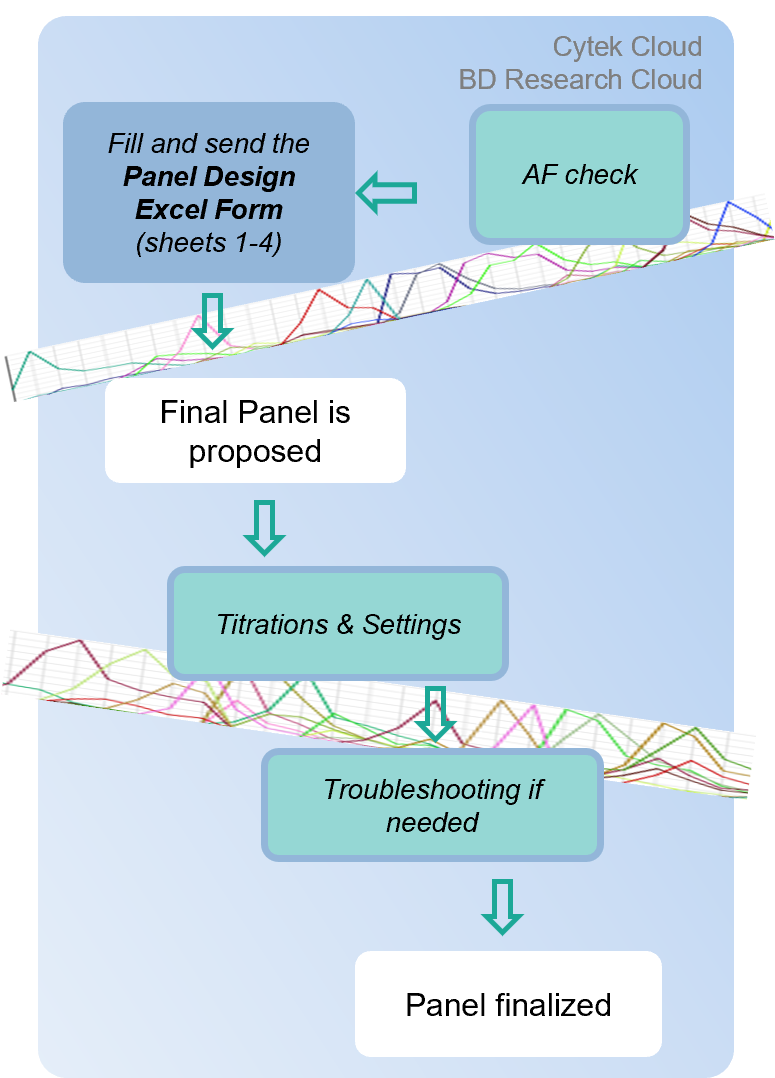
If you need help designing a New Panel or improving an existing one, please complete sheets 1–4 of the Panel Design Form and send it to flowcytometry@gimm.pt
Within the form, you will find the 8 steps required to design a new panel:
1. Run an unstained sample under the experimental conditions you will use in your analysis
This allows you to define the Autofluorescence (AF) spectrum of your cells so we can avoid fluorophores that fall on the same detectors.
2, 3. Design your Panel based on your biological question, animal model, tissue, and sample preparation conditions
Here you will define which markers to be used, their function, priority level, expression level, and co-express patterns. This information allows us to design your panel following Panel Design best practices and to provide you a tailored proposal.
4. Define the gating strategy for data analysis
5. Evaluate similarity and Stain Index Reduction or Hotspot matrix
6. Titrate all the antibodies to be used
After the titration of your antibodies, you are ready to do the settings on the instrument. Our team will be happy to support you during this session.
When the settings on the instrument are done, we will:
7. Analyse the compensation/unmixing using a fully stained sample to validate the panel
8. Troubleshoot the compensation/unmixing, if necessary